
Colour Grading has a great impact on the look of an image. Much like lighting, it can have a huge effect on the emotion portrayed by a piece and without it, an opportunity to turn a good piece of imagery into something great has been missed.

Da Vinci Resolve is a fantastic free piece of software, which I had to learn to use to complete the assignment.
![]()
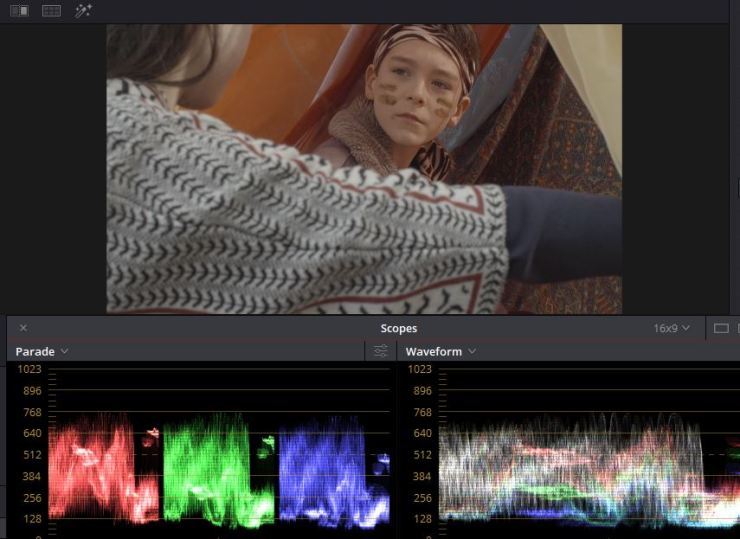
In order to familiarise myself with the interface and how to correctly read the video scopes, I practised using pieces of footage which I had recorded for other projects. Using the video scopes panel to cover the footage when grading was useful in learning this as it forced me to avoid judging the grade by looking at it rather than reading the scopes, giving a more accurate grade. I then made small adjustments after only using the scopes based on the desired style of the image.
I edited the music video using proxies so that Premiere would run better since the original footage was RAW. To do this, I put all of the RAW clips into Resolve and exported each one as a proxy. I relinked the RAW footage in Resolve after exporting the edited music video as an XML file from Adobe Premiere.
For the music video, I decided to experiment with an edit and colour grade that relates to the song and the footage. For example, the title of the song is ‘Repetition Repetition’ therefore, I experimented using mirror effects in premiere to reflect the title by having a repetition of the image in places. Unfortunately, I had issues with this effect as when I put the XML file into Davinci Resolve, the effects were not applied. I also had this issue with some speed ramping effects which I had done in Premiere as well, I struggled to find a solution to this other than to reapply them within Resolve. Since Davinci resolve doesn’t already have a mirror effect, I had to do this manually by duplicating, flipping and cropping the footage. Considering how time consuming this process was, I didn’t apply the effect to as many clips as I had done originally, but decided that simplicity worked better for the video anyway.
I used opacity and fades along with time ramping to add pace and interest to the video at the start as the introduction of the song is quite slow and lasts for a considerable amount of time.
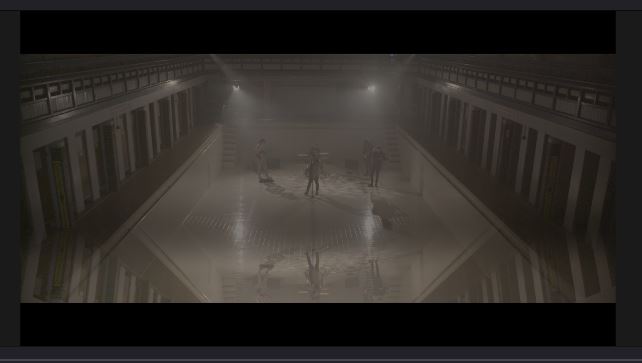
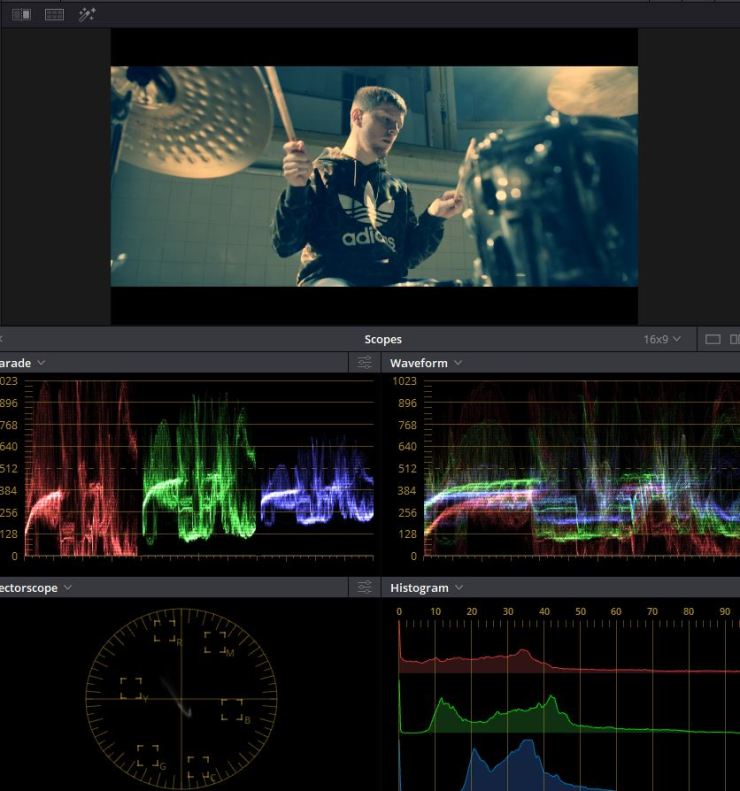
In terms of colour, I decided to try to correlate it with the idea of the abandoned building in the video. I chose a blue/green grade as green portrays decay, with orange in the highlights to contrast this.
I started by attempting to balance and correct the colour, as well as separate the highlights, mid-tones and lowlights.
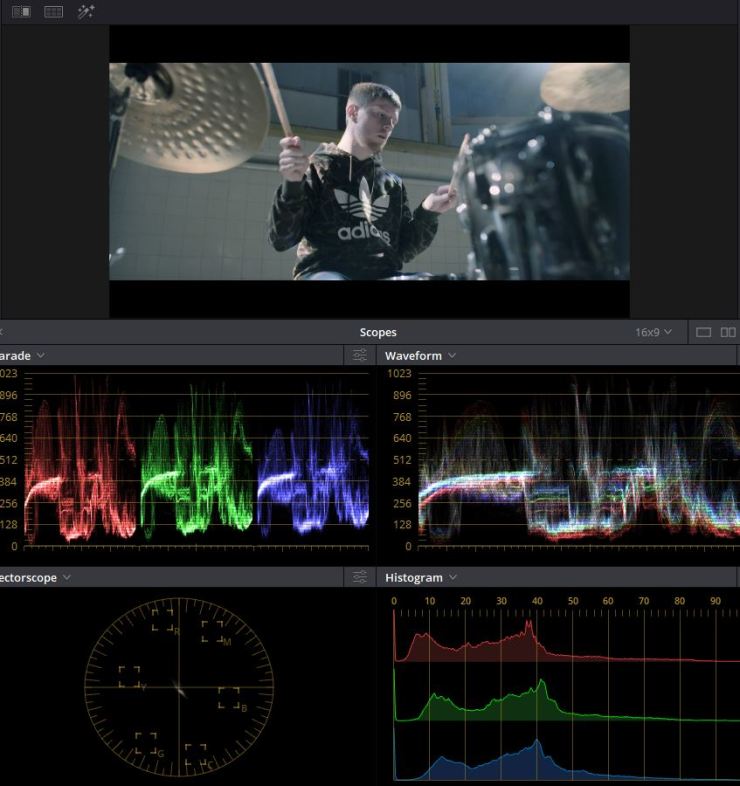
After correcting the image, I added another node to stylise the image and add the colours that I wanted using the colour wheels.
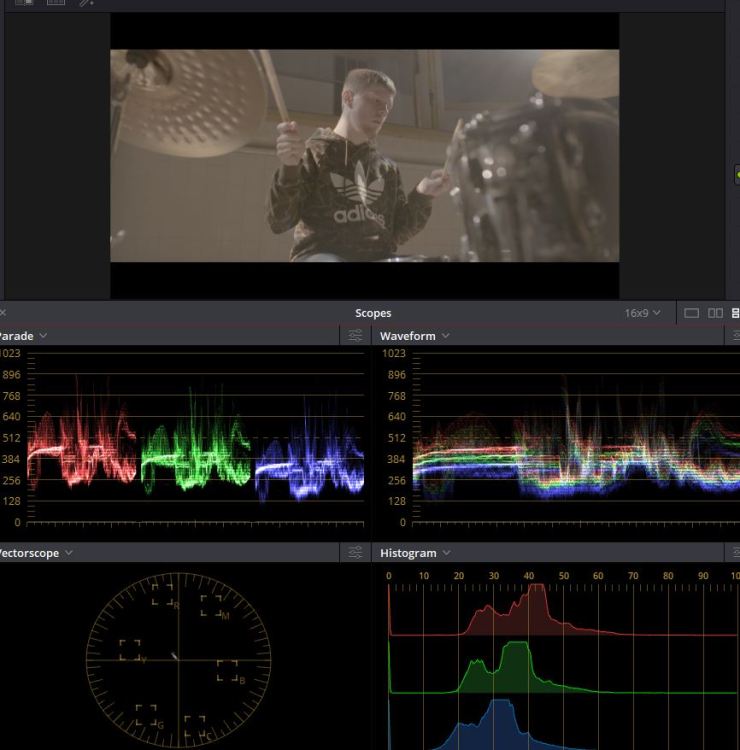
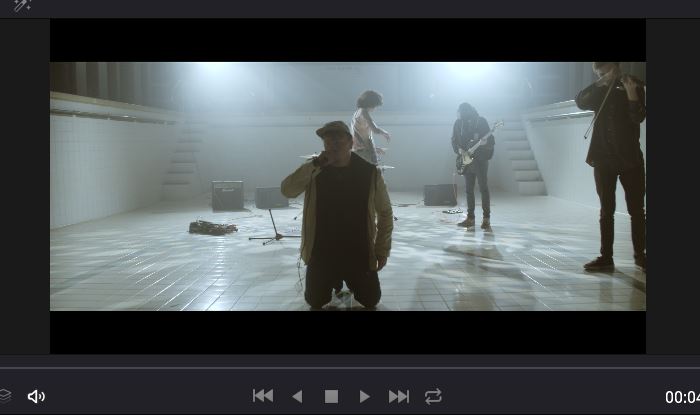
Windows are a useful tool for isolating certain areas and only applying the grade to that specific part of the shot. For example, in the shot below, the lead singer’s face is slightly underexposed. To fix this I used a circle window to isolate his face and added more exposure and contrast to it. The difference is subtle but effective.
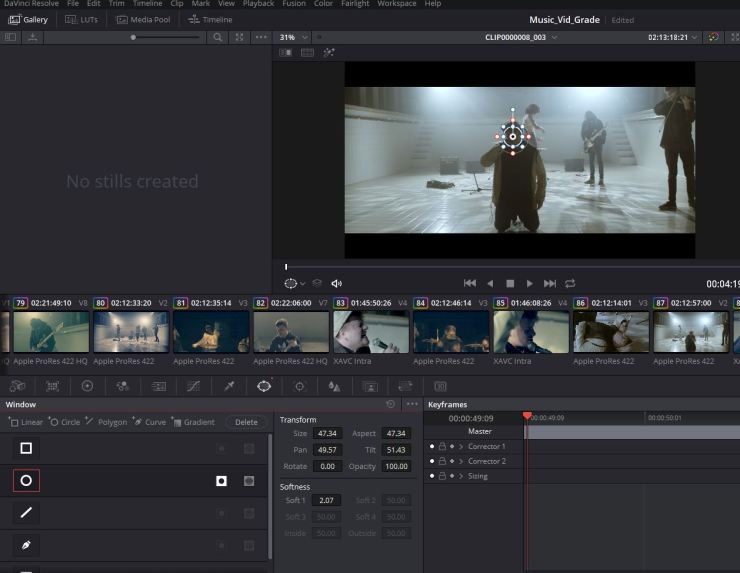
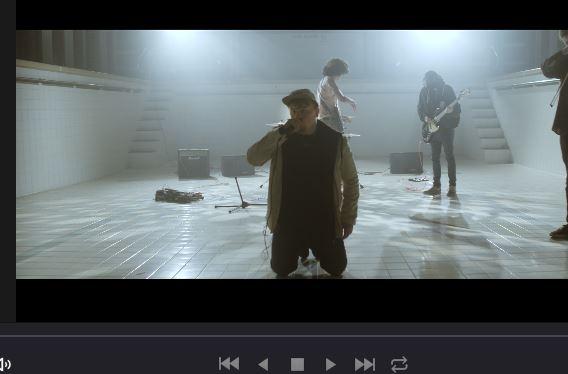
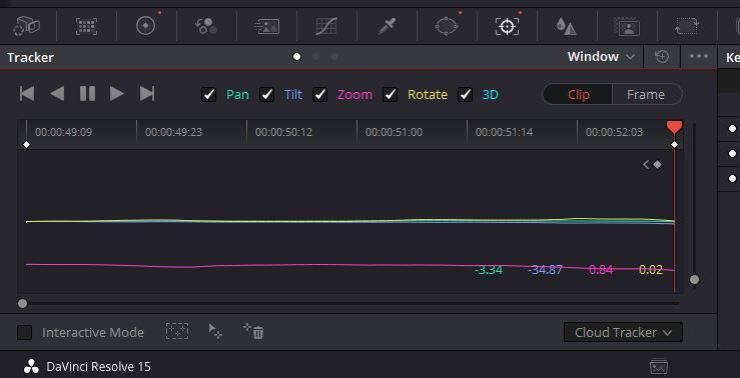
I then used the tracker window and pressed the ‘play’ button within the window to track the window to his face so that the grade is seamless.
This assignment has allowed me to learn the basic skills needed for colour grading and given me a better understanding of how to properly read video scopes and waveforms in order to correct colours and alter the mood of the scene.
